Japanese maples are remarkably long-lived trees — with the right care, an Acer palmatum can thrive for decades and become the centerpiece of your garden. At Mendocino Maples Nursery, we've been growing and grafting Japanese maples since 1992, and this guide distills everything we've learned about keeping these trees healthy from planting day through maturity.
Whether you've just received a new tree from us or are troubleshooting an established maple, you'll find practical answers here covering planting, soil, watering, fertilizing, pruning, and container care.
When getting ready to plant a new tree remember if a tree is planted correctly it will grow twice as fast and live at least twice as long as one that is incorrectly planted. Inadequate soil preparation and improper planting are two frequent causes of plant failure.
Quick tips…
- Keep plants moist and in the shade until planting.
- Soil preparation with organic matter is important, especially if the soil is heavy clay.
- Mulch with 6 inches after planting to reduce the need for frequent watering and protection of their shallow roots.
- Keep pruning of newly planted trees to a minimum.
- Do not fertilize newly planted trees until the second growing season
- Provide morning sun and afternoon shade
- Water regularly until plants are established
How to Plant a Japanese Maple
If a tree is planted correctly it will grow twice as fast and live at least twice as long as one that is incorrectly planted. Inadequate soil preparation and improper planting are two frequent causes of plant failure.
When To Plant a Japanese Maple
There is an old saying that states “The best time to plant a tree is yesterday”. If that didn’t happen, then the ideal planting time is now!
Fall planting is an ideal time to plant a maple. If you plant in the fall you take advantage of the new root growth that occurs during the dormant season. Unlike the tops of the maple that go dormant and cease growth for the Winter, roots of maples continue to grow throughout the fall and early winter months if temperatures are not below freezing. Fall planting also allows the carbohydrates that are produced during the summer to be directed to root growth since there is little demand from the top. Be sure to plant early enough in the Fall so that you avoid harsh winter storms. If you live in zone 4 and 5 or an area that gets very wet and cold in the winter, it may be best to plant in the Spring or early Summer. And if you do live in these harsh Winter areas - be sure to read all about Winterizing Your Maple.
If you are planting in Spring try to avoid disturbing any plant parts that recently have broken bud are is producing new, soft growth. Also be aware of the incoming weather for a week so that your tree can get off to a good start without too much rain, sun or cold windy weather.
When planting in Summer, plant in early morning or late afternoon to avoid the heat of the day. If a heat spell is happening or about to happen, hold off planting your tree until the heat spell fades. In very sunny hot climates be sure to give your maple afternoon shade so that your tree can thrive in its new location.
Japanese Maple Sun and Shade Requirements
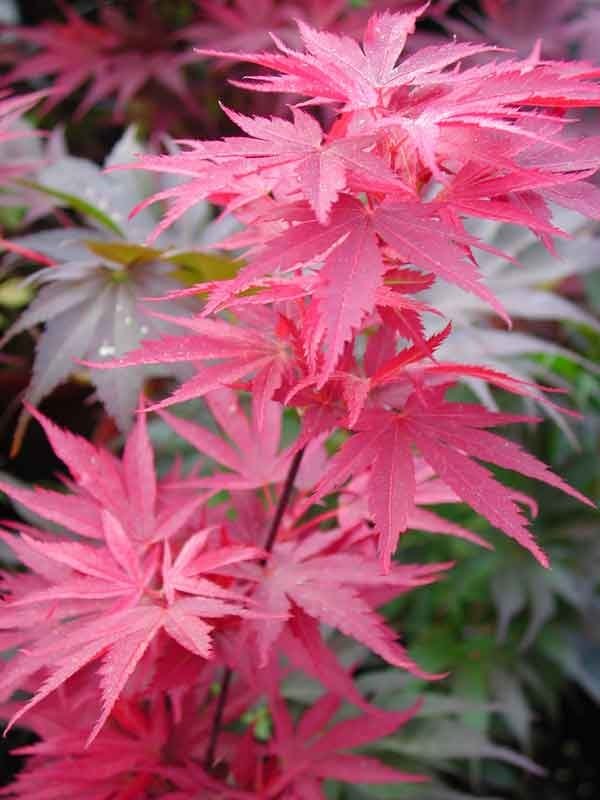
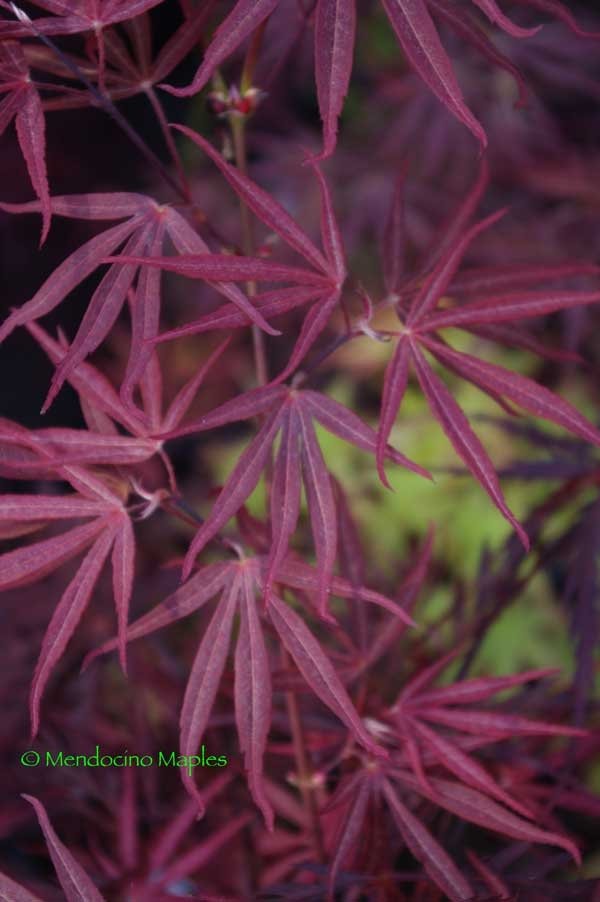
The placement of your tree can mean the difference between an attractive lush growing maple and a straggly struggling one. With so many cultivars to choose from this should not be a problem as you should be able to match your landscape situation with the right cultivar. Try to match your maple cultivar to your planting location with regards to the amount of sun, wind exposure and space availability the tree will receive. Young trees will need to be protected from the elements until they have formed established roots.
Keep in mind when you place your tree into the landscape that morning sun and afternoon shade will suit most maples best. Wind and hot sun can wipe a small tree out in no time, regardless of the cultivar. Leaves will show signs of stress with burning on the tips. Sometimes the roots will become sun baked and the stress will show up in the leaves as if there has been too much sun or wind. Maples are thin-barked and can be sun scalded during the first year or two after transplanting. This injury can set the trees growth back considerably. Most maple species are naturally under story plants, but as gardeners we have forced them into the open landscape.
Best Soil for Japanese Maples
Clay and poor draining soils
 Most maples do not thrive in clay, heavy or poorly drained soils. These types of soils can lead to root rot and bring about disease. In addition plants breathe through their roots and these soil types are not suitable for growth because they are low in oxygen required for good root growth.
If your soil is heavy clay, make the planting hole 2 to 4 inches shallower than the root ball. In poorly drained or heavy clay soil, the plant is best placed higher than its original planting depth at about 4 to 6 inches higher than the surrounding soil creating a raised mound.
Poorly drained soils are a leading cause of plant problems in the landscape. It is a good idea to incorporate about 10-20 percent organic matter into the soil to help with drainage and aeration. Use only well-composted mulches. A quality bag of potting soil mixed in will work just as well. Avoid fine- textured organic matter, such as sand or peat moss. Composted materials immediately provide organic matter to the soil and help with aeration. Do not use green bark products as amendments. Freshly milled bark that has not been composted will slowly rob plants of nitrogen when used as an amendment. As microorganisms in the soil feed on bark and decompose it, they will use nitrogen in the soil. Also, the pH of the soil often drops dramatically below the desirable range when non-composted materials are used as amendments.
Be sure to build the soil up beside the root ball so that the sides are not exposed, and do not place additional soil on top of the root ball. This will allow oxygen to reach the roots in the upper surface of soil. Do not disturb the soil under the root ball to prevent any later settling, which will move the plant roots deeper into the soil.
Sandy or well drained soils.
 In well-drained soil, the planting hole should never be dug any deeper than the height of the root ball, the planting hole should be at least twice and preferably five times wider than the root ball. Roots will grow more quickly into loosened soil, thus speeding up the tree’s establishment time. Mulch should be placed over the surface.
Growing Japanese Maples in Containers
Planting in containers is a great way to start your maple tree. However, from years of growing maples in containers I have come to learn that Japanese maples prefer to be somewhat snug in a container. If too much soil is allowed to sit around the rootball there is a greater chance of the soil becoming too saturated with water which can lead to root rot. This seems to be particularly true for smaller maples in containers.
So it is best not to use a container that is too big for your tree. As a general rule use a container no larger than twice the diameter of the root ball and half again as deep. Another way to look at this is not to go more than double the volume of the root ball. As the plant becomes larger, planting in wine barrels or other large containers is a great way to use the maple as an accent on your patio, front porch or backyard.
A mixture of half potting soil and half aged bark is an ideal medium for containers. Vermiculite or perlite can be substituted for the bark.
After two or three years in a container, your tree will benefit from root pruning and some fresh soil. The outer layer of roots can be pruned or cut off with a saw or sharp knife. Those long, tangled roots around the edge of the pot are not necessary for the plant’s growth. Only the root tips take up water and nutrients. If you are returning the plant to the same pot, remove enough root ends so you can incorporate some soil around the perimeter. There is no need to disturb the center of the root ball.